

So my long-awaited Kitchenaid Mixer arrived this weekend (thanks Mom and Dad!) and I could not be more excited! Oh wait, yes I could be...if I wasn't sick, I'd have more energy to be excited and bake endless batches of cupcakes and cookies. Unfortunately, my head was hurting and I felt weak all weekend, so all I could manage was one measly batch of gingerbread cookies made into present boxes.
 |
| My new baby! |
A few weeks ago, I was waiting for my car to be serviced and I wandered into the nearby mall, where they had a Japanese specialty store. In the kitchen aisle, I saw they had a "3D cookie cutter." Intrigued, I examined it and saw that you could use the specific cutters to cut out shapes, bake them, and then assemble them into a little box that can be decorated like a wrapped gift box!
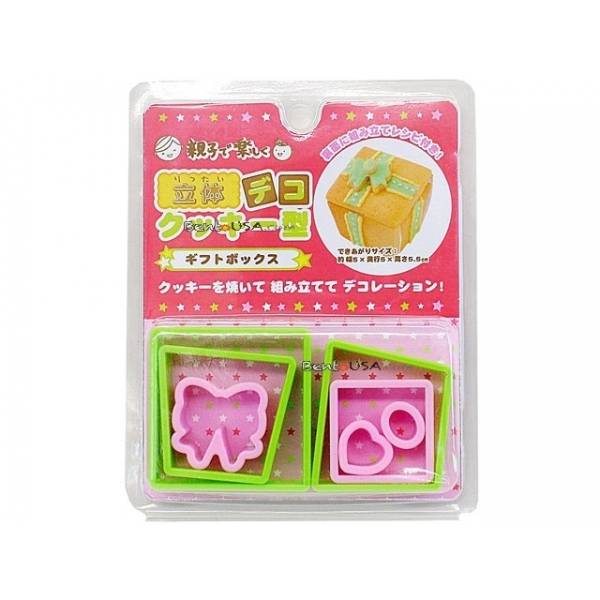 |
| So cute! |
I selected a recipe that was meant for gingerbread men, but I ended up having a LOT of trouble with it. Namely, it was super sticky and kept sticking onto everything - the rolling pin, the cutting board, the cookie cutters....I kept having put it back into the fridge every so often because the dough would warm and start sticking again. This resulted in me cutting some very uneven pieces, which led to some very uneven presents. Also, the dough was probably rolled a little too thick - thinner cookies may have been easier to handle in the building process.
 |
| A little lopsided, but still adorable. |
Still, it was fun to make and my Kitchenaid mixer did a wonderful job making both the cookie dough and the royal icing (used to "glue" the cookies together). No more standing over the bowl with my little five dollar hand mixer! The cookie presents even come with an actual present inside - I put a Hershey's chocolate inside each one. :)
Next week will also be a great baking week - two potlucks and a birthday. After getting overwhelmingly positive feedback on my hamburger cupcakes, I got to keep it up on the decorating/cuteness front, as well as the tasty front and I'm looking forward to what I have planned! I hope you all do too!
TV Reactions (spoilers for Scandal, The Vampire Diaries, White Collar, and HIMYM)
Scandal - WTF did I just watch? I signed up to watch a political drama, not this blood/gore mess.
TVD - Usually retcons don't bother me, but Damon didn't tell anyone about this until NOW?
White Collar - Individual episodes are fun, but the overall storyline is dragging.
HIMYM - the cute ending does not make up for how annoying Barney was throughout the whole episode.
Gingerbread Present Boxes - makes around a dozen (depending how flat you roll it)
3 cups flour (all-purpose)
1 1/2 tsp of baking powder
3/4 tsp of baking soda
1/4 tsp of salt
1 Tbsp of ground ginger
1/4 tsp of ground cloves
1 3/4 tsp of ground cinnamon
6 Tbsp of butter (unsalted)
3/4 cup of brown sugar (dark)
1 egg
1/2 cup molasses
2 tsp vanilla
- Mix the dry ingredients (flour, baking powder, baking soda, salt, ginger, cloves, cinnamon) together in until combined.
- Using a stand mixer with the flat paddle attachment, mix the butter, brown sugar, and egg. Start with a low speed and then slowly turn it up higher until combined. Add vanilla and keep stirring.
- Gradually add the flour mixture (a few tablespoons at a time) until it is all added. Keep mixing until everything is well-blended.
- Wrap dough in plastic wrap and chill overnight.
- Roll out dough between two sheets of wax paper to prevent sticking. Roll to about 1/4 inch thick.
- Cut out shapes using cookie cutters and place on cookie sheets. You may need to chill the dough in order to handle it between steps.
- Bake in a 375 degree preheated oven for 10 minutes (for the larger pieces) and 5 minutes (for the smaller pieces). Let cool.
- Make the royal icing (see below). Assemble the box using the royal icing as glue. Decorate box as you wish. Don't forget to include a little present inside before you glue the lid on!
Royal Icing - makes ~2 cups
- Separate egg white from yolk and beat the egg white until frothy. Add a few cups of powdered sugar (~2 cups, depending on how you want the consistency) and keep beating with stand mixer (whip attachment) until thick and glossy. Use immediately.
No comments:
Post a Comment
Feedback? Questions? Comment!